https://www.SewMoreWithKitty.com
WWW.SEWMOREWITHKITTY.COM
This blog will address doing a little more than beginner. Projects to inspire you to do more than just a start... Advance to doing multiples and some information that you may not have heard, or just reminders.
There will be some clothes sewing-quick and easy and we will do some slightly advanced quilting teaching blogs addressing fun things, like applique story quilting and quillows. Everything I do is easy, but some takes a little more thinking.

For easy to do beginner projects
For sewists who are trying to advance their skills, or just sew more, I will list what I am sewing and the steps of what I do. This is just a sampling of some of the things I will do a separate blog for each thing step by step. This one is about a fitted shirt pattern, cutting out three at a time.
I have a very small area that I live in. I used to have a very large studio and a cutting table and cabinets but now....
This is my bed, my sitting area, my cozy area, and my cutting area.


It is great for bias swirl skirts, round tableclothes, self welting cutting. It is just FABULOUS.
Disclaimer: I am not going to say what I do is right, or necessarily professional. This is what works for me in the real world.

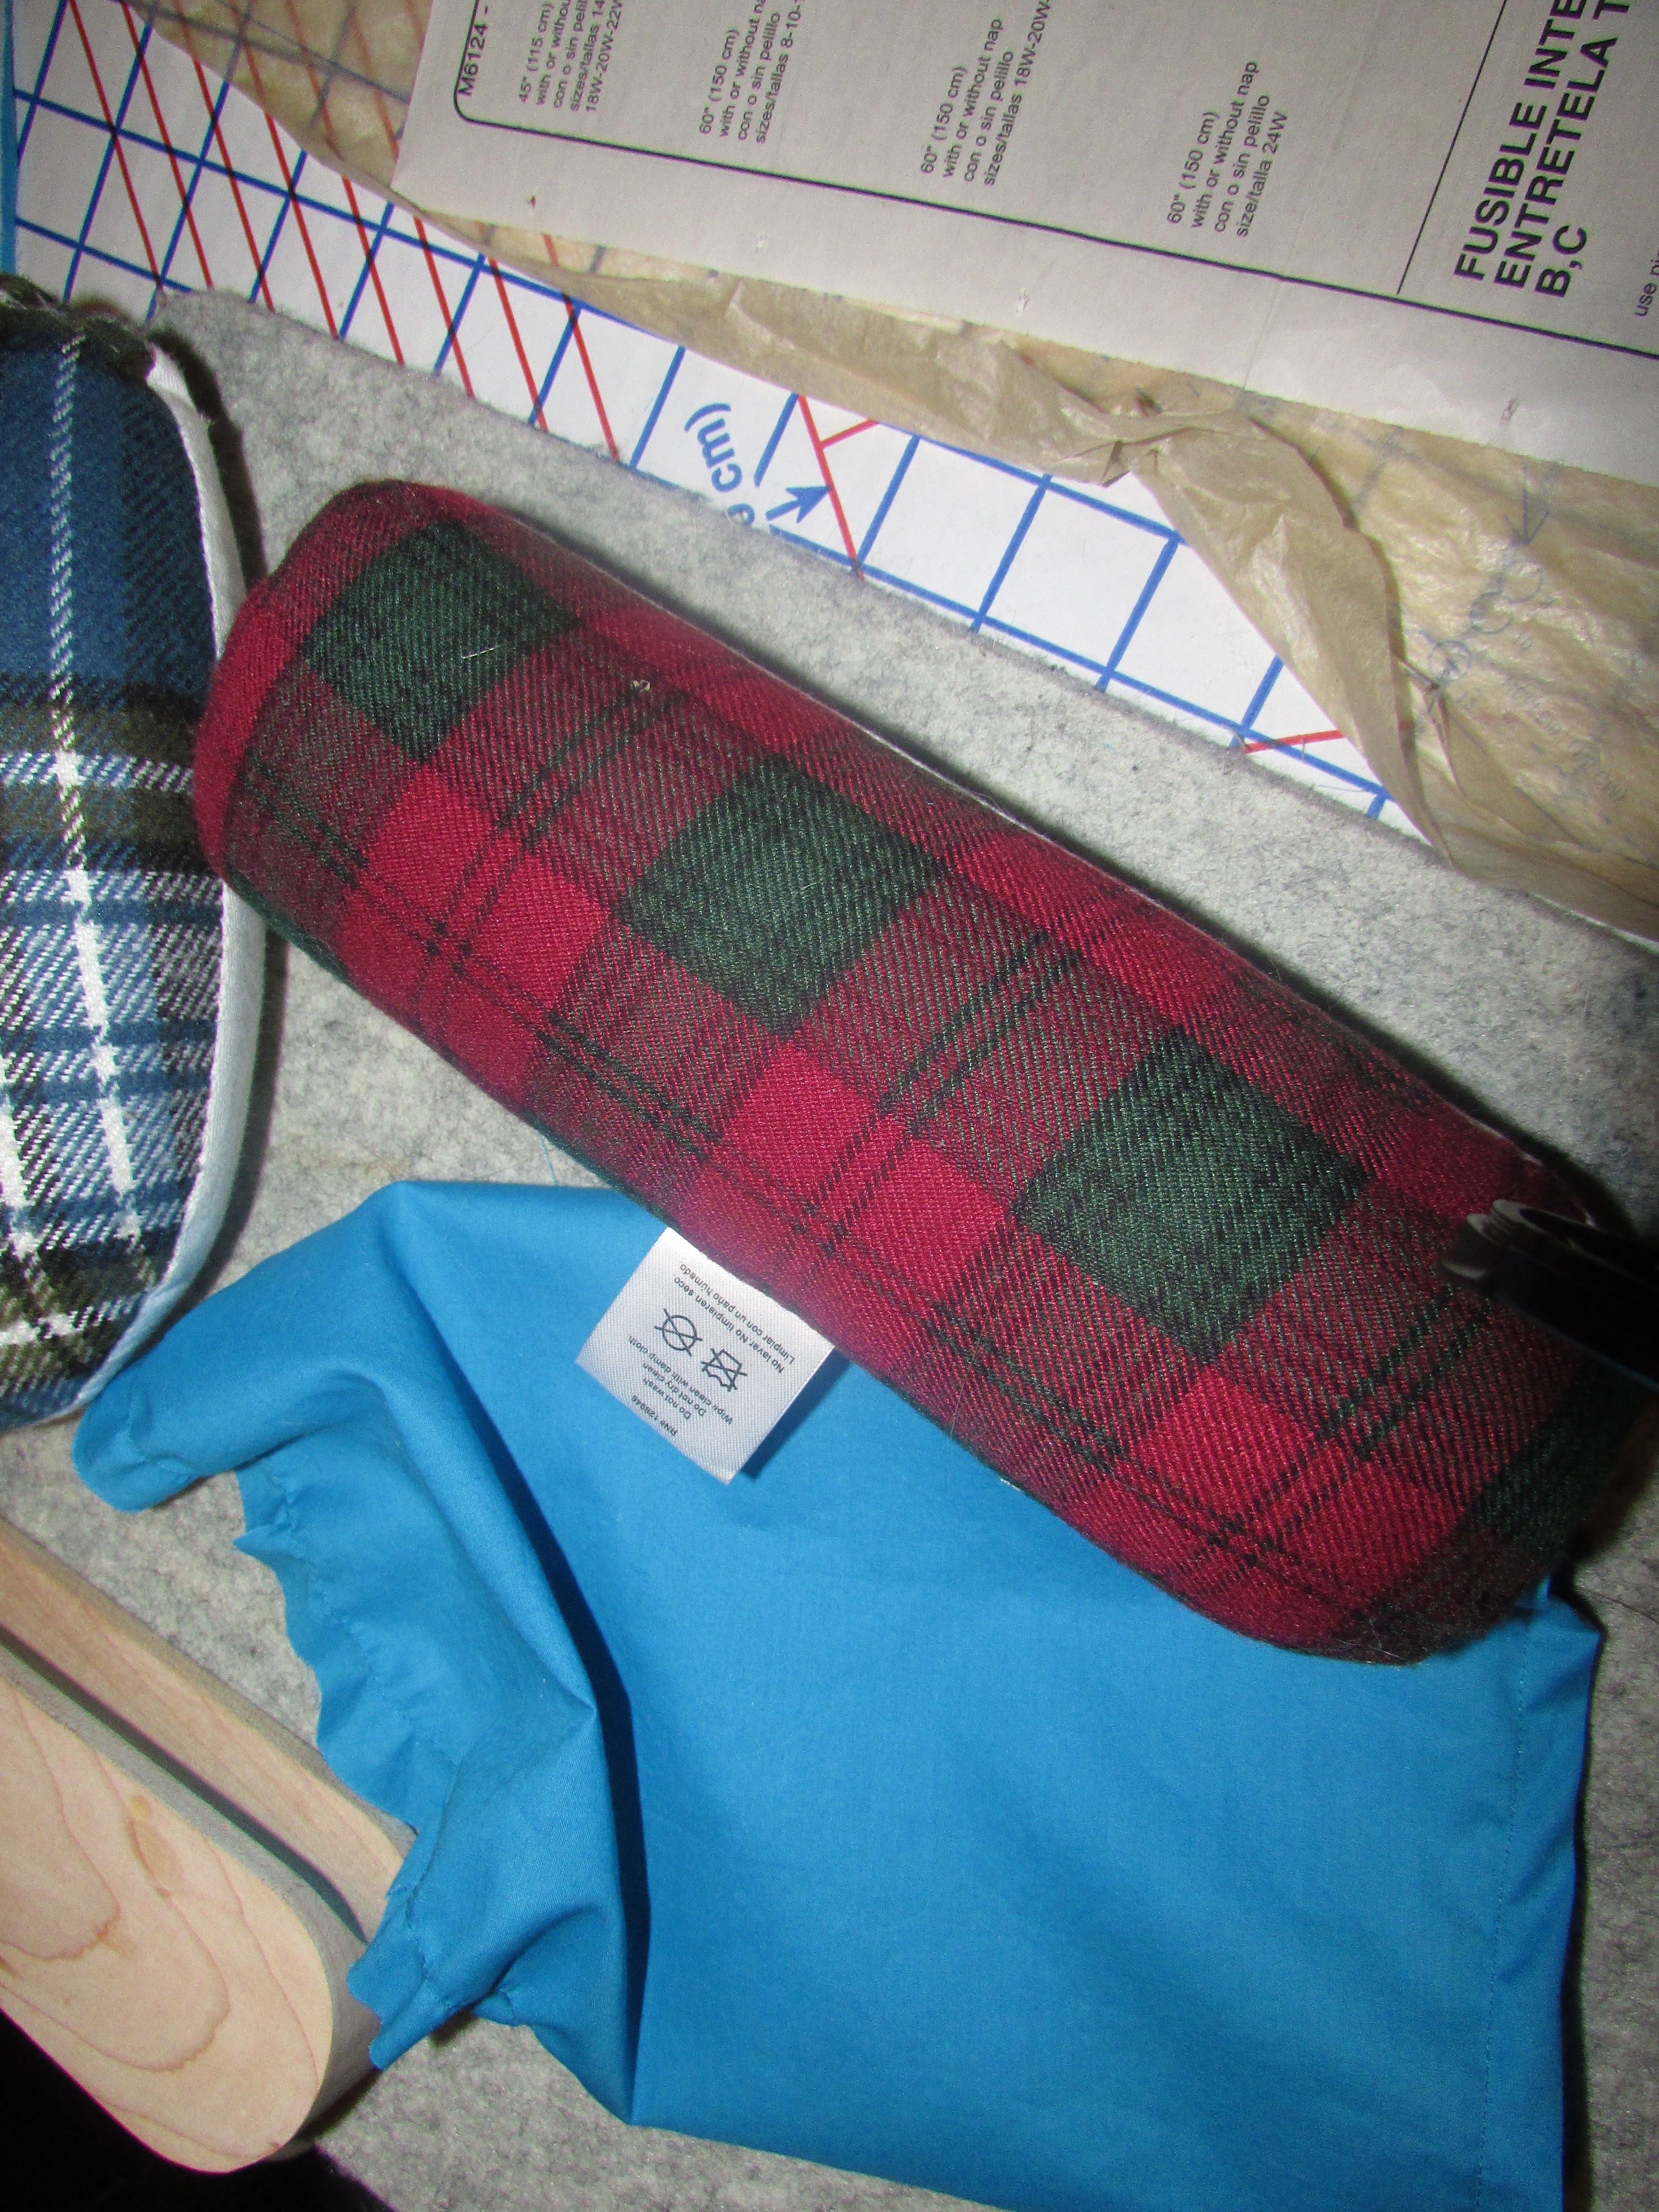
These are the pattern pieces used and my wool ironing pad and my nice iron that will steam when I want it to, and shut itself off when I walk away.

The other tools I need to have out are my measuring tape, and my hams... I used to not think ironing was so important, but especially in a cotton top with lots of hems, you need an iron to make it look good.
I have found in later years that I really like the big ham when I am doing body curves, such as in this blouse pattern, and a sleeve ham to press the sleeves nicely.
I will show you the pattern, if I use a pattern, or multiple pattern mixing. In this case, I am using McCalls M6124. It has cutting lines for 8 through 16. I will use the smaller sizes to fine tune my moms blouses. I will use the larger size for me as that is who I am. When I have to adjust any pattern or switch pieces with another pattern, I use the pattern copier pellon called Create-A-Pattern. It is wide folded over and does not tear. Lasts forever and you can write on it the adjustments that you won't remember later.
I have an old blouse of my moms that is similar to this style. She has worn it out. I am going to measure the old blouse and I know it is too tight, so I will go with the cutting lines of a size or too larger.

I am making the short sleeved shorter blouse pattern. There is a shortening line for petite and she is short.
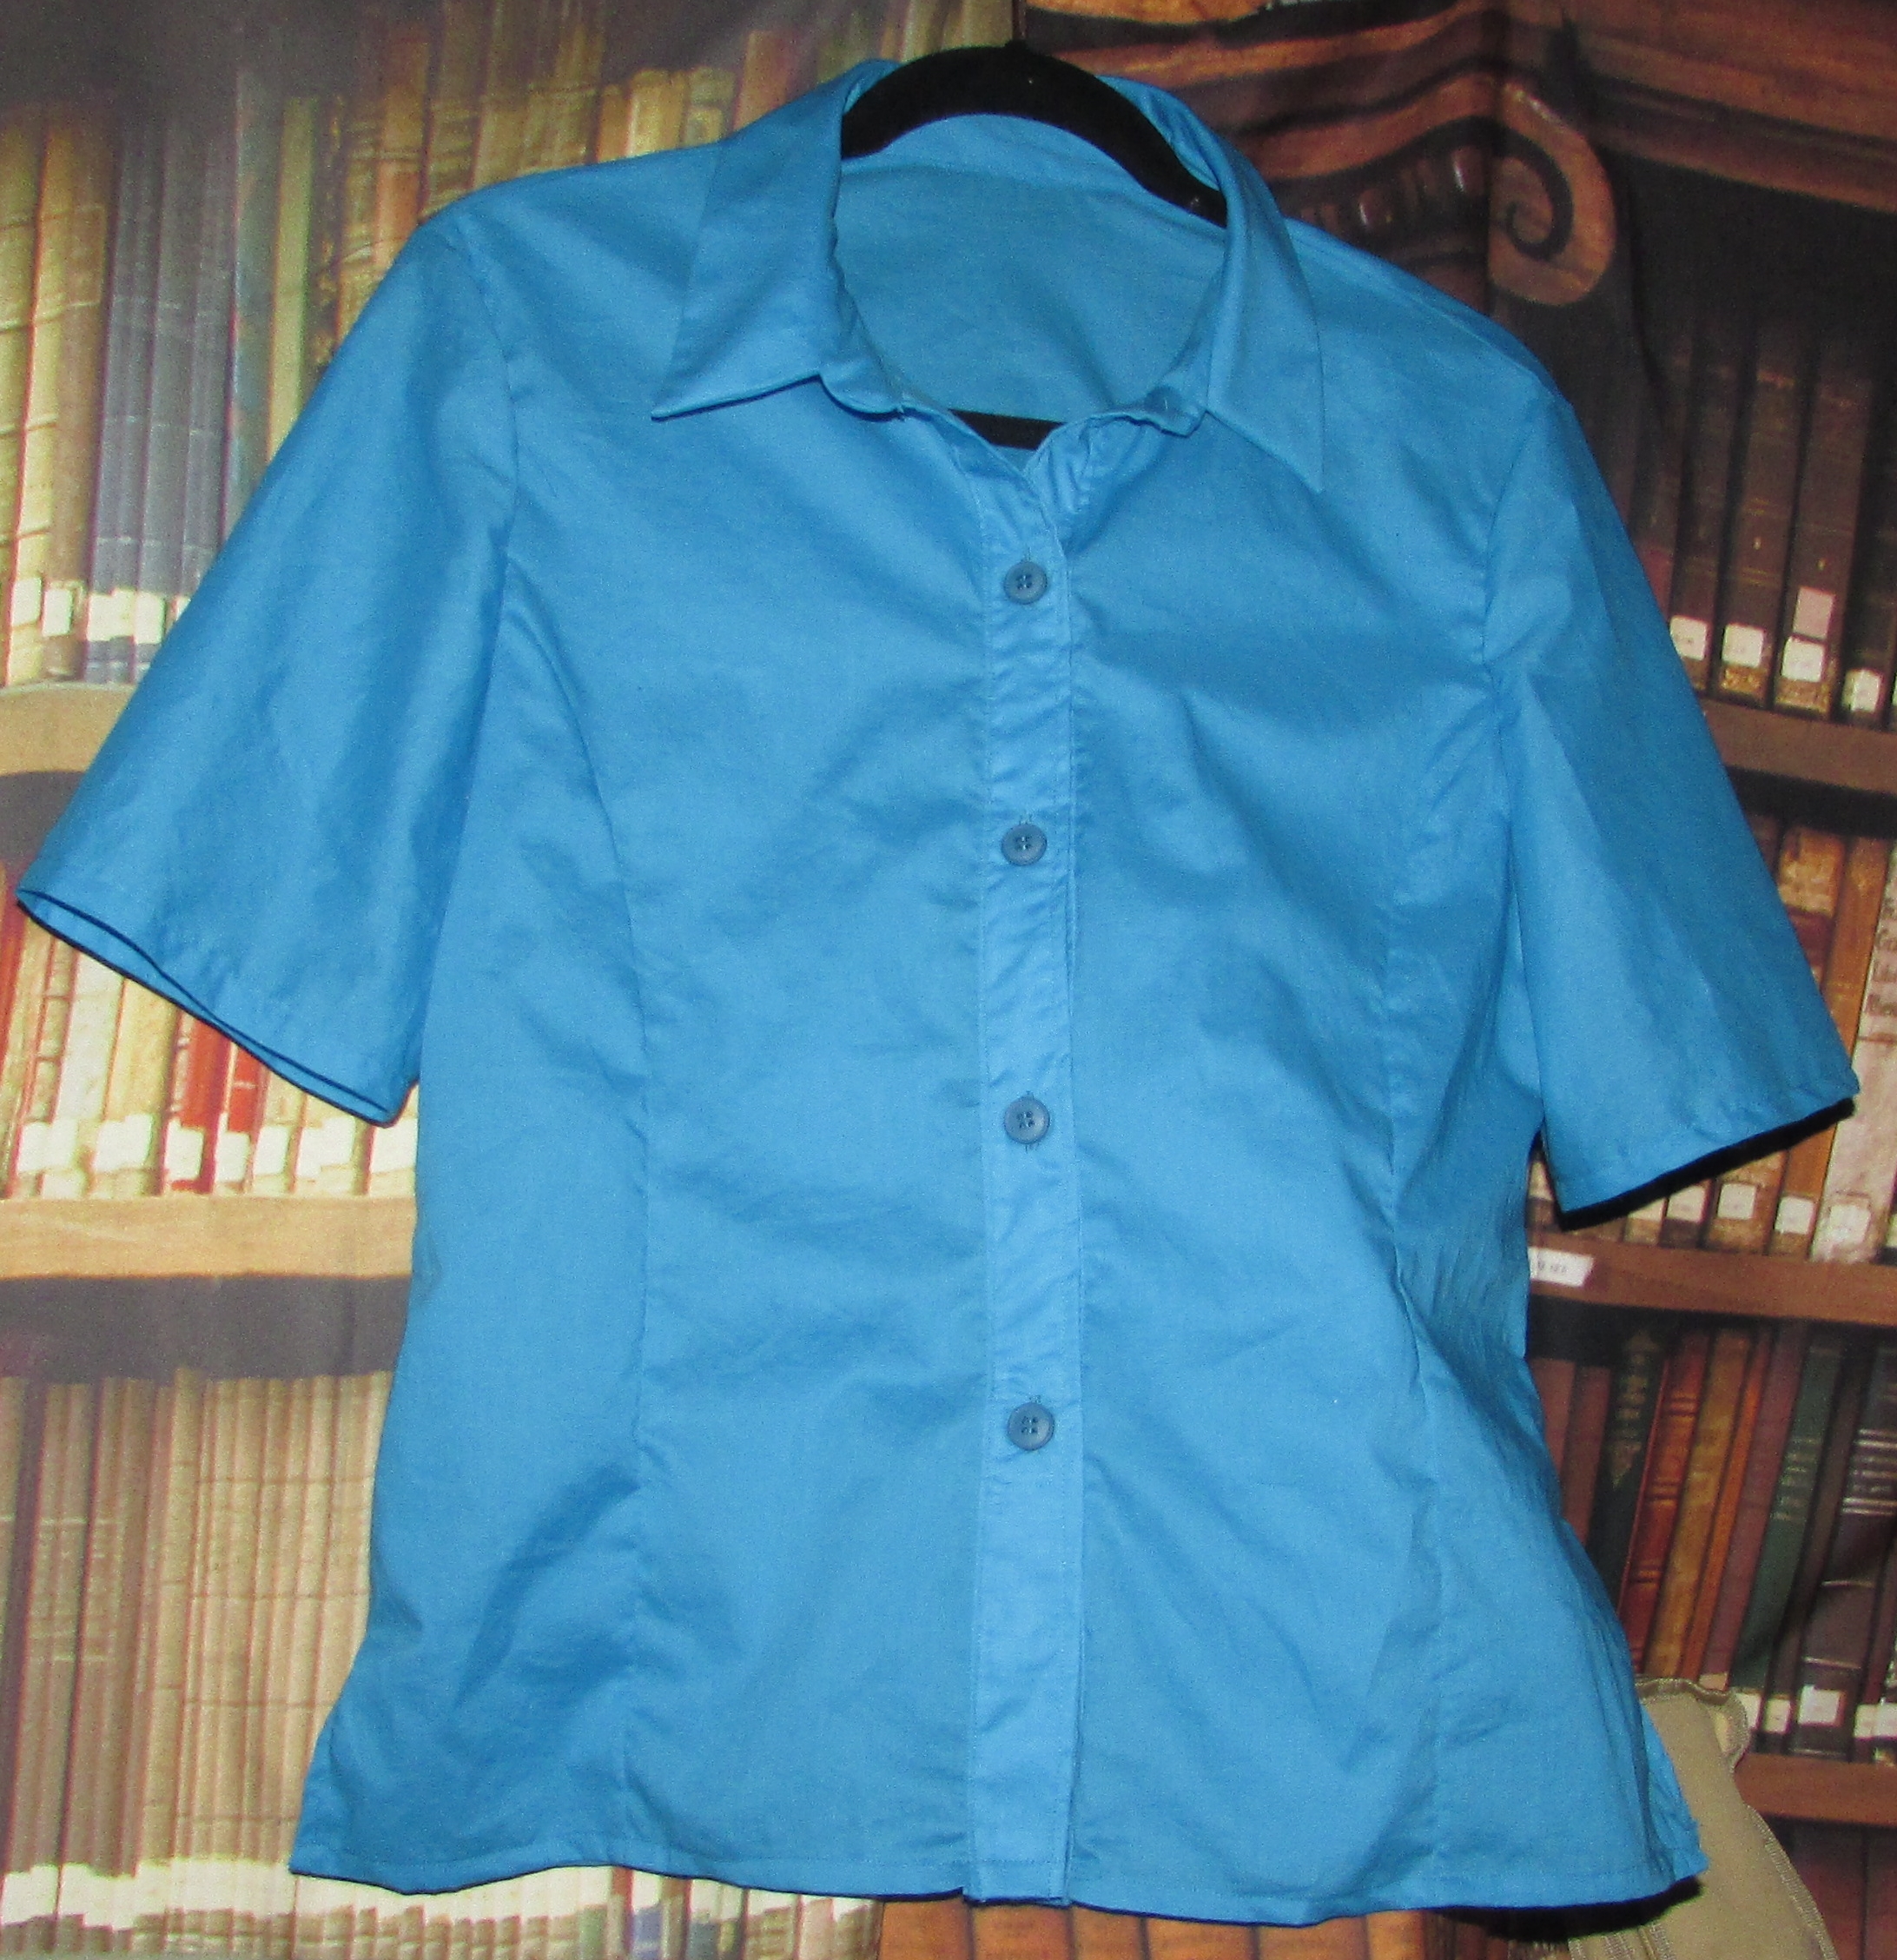
1. These are cotton shirts. I am making 3 at a time. I first prewashed the fabric to make sure it was preshrunk.
2. I folded the fabrics each by themselves and then matched the fold line and pinned the 3 fabrics together neatly so I could cut out all three at once. Blue, Blush and White.
3. I had bought the buttons when I bought the fabric, and some matching thread to the blue one and the offwhite one.
When you are pinning more than one fabric together (all have been preshrunk of course), smooth your fabrics so when you pin you do not end up with your pieces not being the same size because of buckling or wrinkling in one of the fabrics.
These three shirt fabrics are lawn and pima cotton. This means they are a lighter weight, higher number count and feel very drapey to the touch. I did preshrink them, because we do not want to make the blouses fit perfectly and then have them shrink.

The pieces are cut out... there are more pieces than I usually work with. I measured the blouse that she likes and then used the size that would give her a little more room.
4. Next I have to cut out the interfacings for the button tab and the collar... Again enough for 3 blouses. You can use a fusible midweight interfacing... Shir-tailor is good for the collar as it makes the points crisp. You will do buttonholes so midweight is good for the buttontab down the front. You can just use the same fabric and have 3 layers if you don't want to buy additional interfacing. The idea is to have enought layering to have it more stable in the collar and the collar neck tab and front button tab areas. Then I will be ready to sew.


6. Sew the body curves together in the front doing a gentle ease at the curved angle part.
7. Sew the center back seam together.
8. Sew the body curves to the back section together.
9. Sew the side seams together and pay attention if there is a dot, perhaps that is where you stop sewing where there is a side slit.
10. Do a narrow hem at the bottom edge.
11. Sew a basting stitch or two rows, between the notches. There is also usually a dot to match to your shoulder seam. Matching your notches to your shirt sleeve hole and you dot to your shoulder seam will make it very easy to sew your sleeve in.
12. Sew your sleeve seam and sew the hem of the sleeve. Now you are ready to match the notches and shoulder seam and sew. I pin only at the two notches and the should seam...then I can see where I need to ease the sleeve in so I just gently pull the basting threads to make it fit in the hole. Sew.. I sew this twice and then trim or overcast to be finished with the sleeve part.
Press your sleeves after sewing them before attaching them to the shirt base. It is easier using the sleeve ham inside the sleeve to get the seams nice and flat.
insert the long narrow sleeve ham into the sleeve and press the hem nice and flat

13. Press the unnotched edge of your button tabs in and trim to 3/8" and sew onto your shirt on both sides. Fold it back and press it so you can see where the tab is longer at the front. This is where you will sew accross the bottom and trim then turn rightside out so you have a clean straight edge at the bottom of the button tab and topstitch, so it matches the rest of the bottom of your shirt where it is stitched. Now you have a shirt with no collar or buttons or buttonholes.

14. Do one line of stitching from the side of the shirt top from one fold in of the button tab to the fold in of the buttonhole strip. This is called stay stitching. It keeps your fabric at the neck edge from stretching while you are sewing the collar band onto the shirt.
15. Sew your two collar pieces together at the unnotched edges trim and flip and press sharply.
WHEN PRESSING USE A PRESSING CLOTH TO PREVENT ANY MARKINGS OF THE IRONING ON YOUR NICE SHIRT PIECES.
Sew your collar band to the shirt base and your shirt top is now completed.


Buttonholes and buttons in place-now if it only fits...
Usually I just use a satin stitch for the buttonholes and cross over the ends. I made myself use the buttonholer and it made the buttonholes perfect, and then I sewed the buttons on.
We must keep pushing ourselves to try things by using our sewing machine manuals. The steps are there we just have to read every page and then try each sewing adventure. After doing this one, then the other two that are cut out will add to the experience of this one and it would be easy to make many.
Practice makes perfect. Most patterns-once I do them I use them over and over and then they become quick and easy.


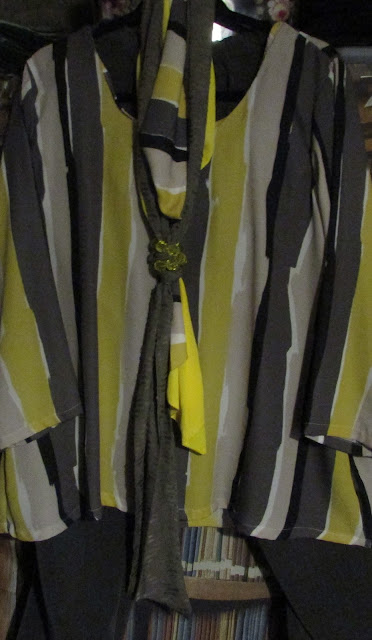

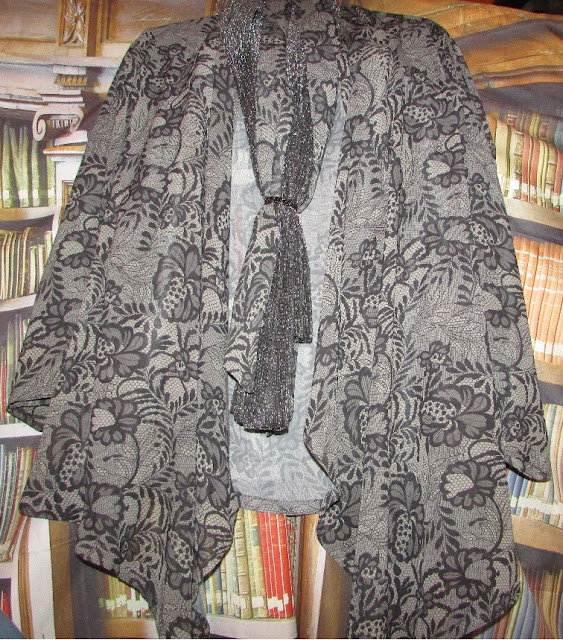
Patterns that are not available in current books are easily found on Etsy or Ebay. Once you find a good pattern, copy it with create-a-pattern pellon and write on it what you like and the pattern number and style-store in a ziplock with description on the front. You can use it for years. It is all about the beautiful fabric, your design does not have to be dramatic. These cowel neck sweaters with scarves are my favorite easy to do and 3 at a time.

This was a pattern again I cut three at a time... I loved this color particularly.. I found this fabric in the 'Treasure Hunt Room' or the 2.97 room... call it what you will, but truly there are treasures in there that would cost 19.97 a yard anywhere else... or more.


https://www.kittysquillows.com/ ideas of what is to come next, each of these sewmore blogs will go step to step with one idea, so you can see what I do at home.
I work at G Street Fabrics-- a FABULOUS fabric warehouse. I have worked there for over 10 years. I sew everyday and love all the fabrics. I try to expand my experience, frequently, by trying different things. The customers like to share and sometimes, I can't help but try something they tell me about that I never thought of.
I will put a slide show Link that will tell you about our store. You don't have to watch it, but it shows many of the things I have made.
If you are anywhere near Rockville, MD this is a fabric store you do not want to miss out on. Take a tour with me and see some of the things I have made. In my blogs, most of the fabrics have been purchased from G street. It is a place where your creativity blooms when you come in. One of our next blogs will be this shirt.
This is great with our cotton knits simple unisex, comfy and can be color blocked as in this one-I made for my son.


Comments
Post a Comment